What a jump host is for
A jump host (a bastion, or ProxyJump in OpenSSH terms) is a machine you are allowed to reach, which is allowed to reach the one you actually want. Term signs in to it, asks it to open a tunnel onward, and signs in to the next hop through that tunnel. Nothing on the target has to change, and the target never needs to be exposed.
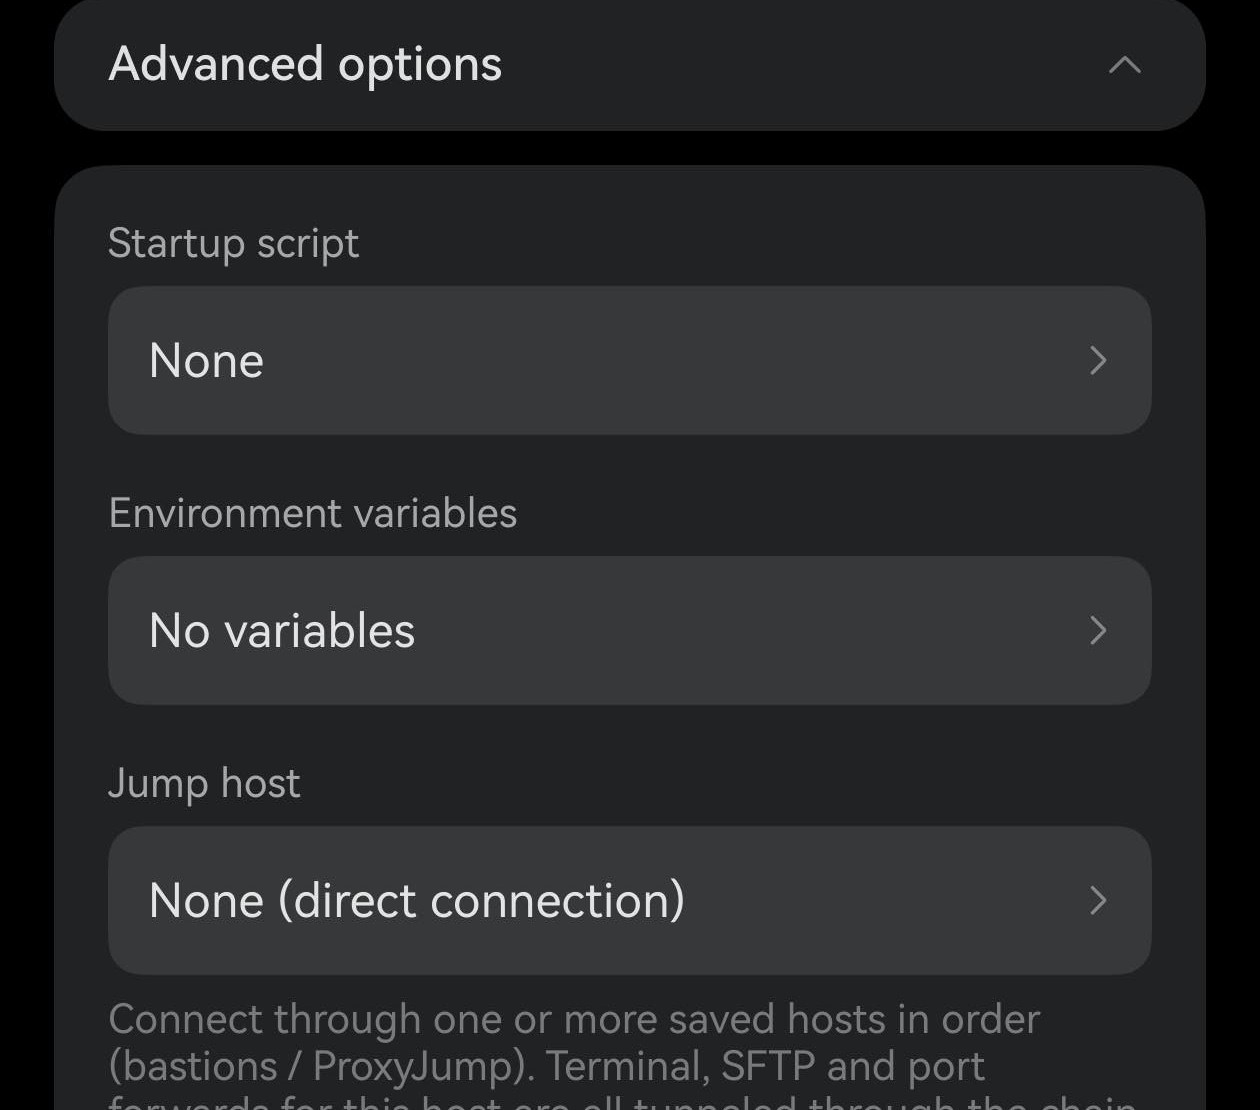
You need this when the target sits on a private network, behind a firewall that only admits one address, or inside a VPC whose only door is one gateway. It is set per host, under Advanced options.
Build the route
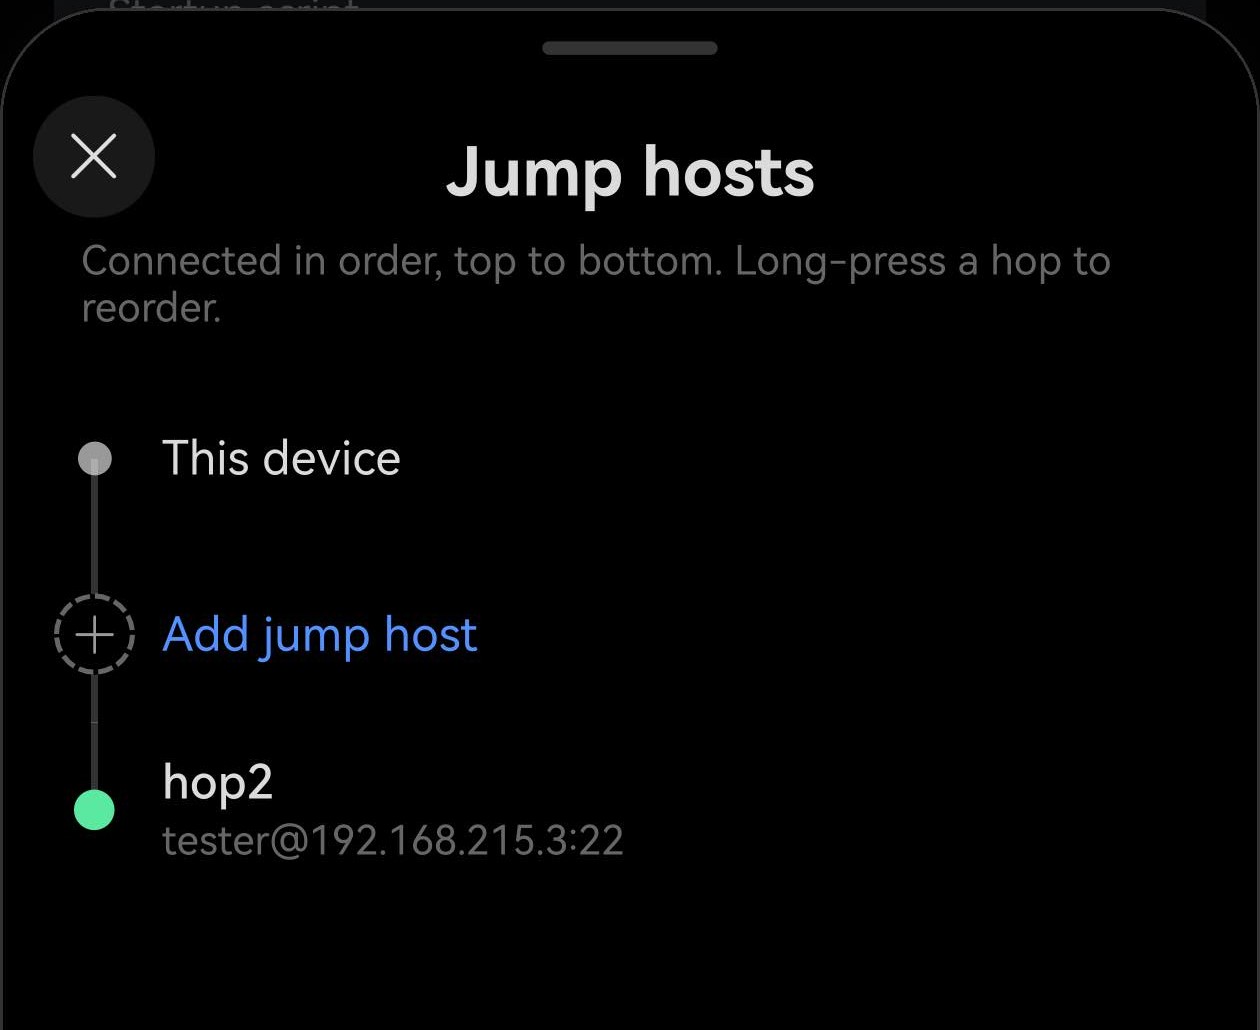
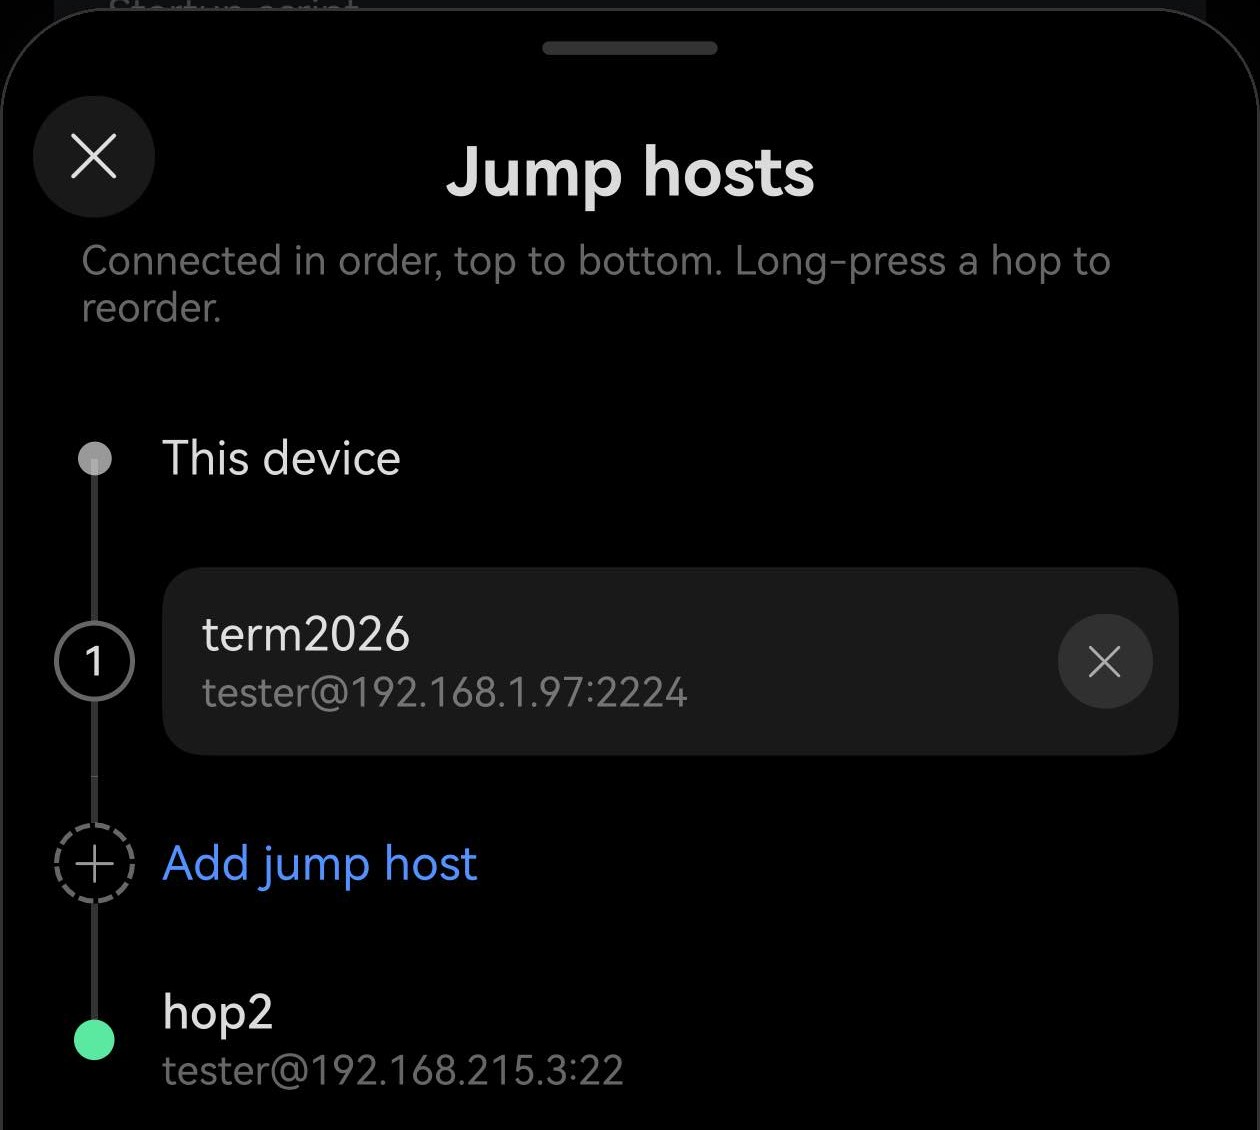
Tap the row and the chain opens as a flow, drawn top to bottom in the order the connection is made.
- The top is always This device, and the bottom is always the host you are editing. Those two are the ends; everything you add goes between them.
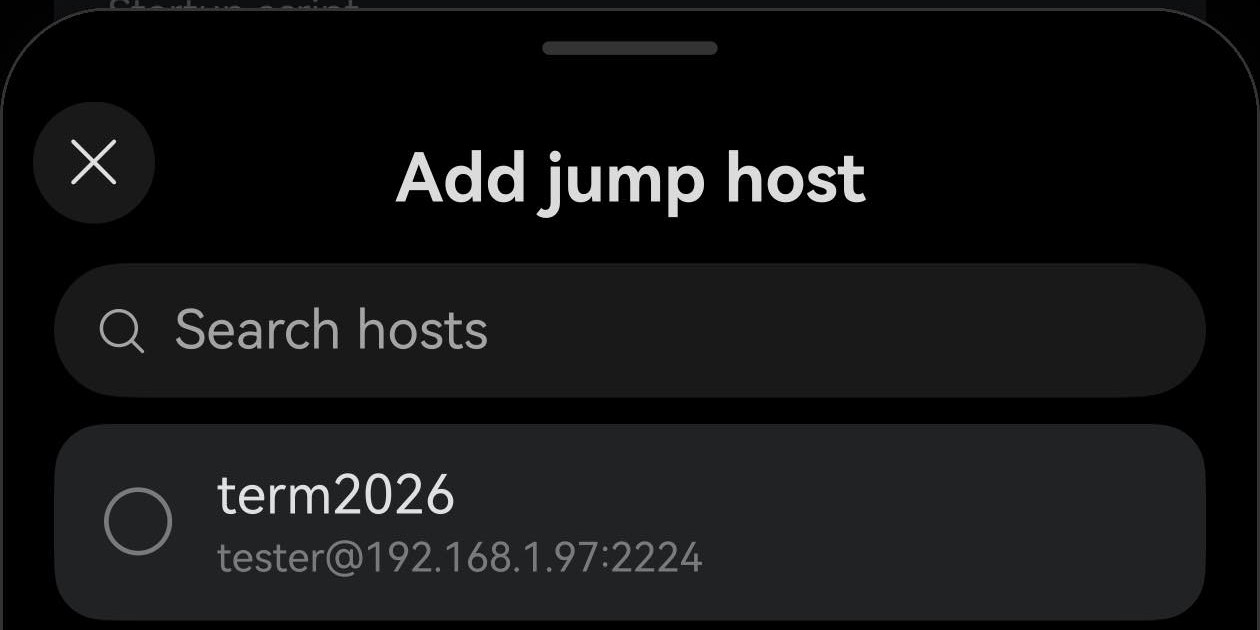
- Tap Add jump host and pick from your saved hosts. Only eligible ones are offered — the host itself is not in the list, and neither is a mosh or telnet host, because neither protocol can carry a tunnel.
- Each hop it adds is numbered in wire order, with an ✕ to take it back out.
- Add a second, a third. There is no fixed limit — each one is a real login, so a long chain costs time, not correctness.
Order is the route
The list is not a set — it is a sequence, and it has to match how the network is actually laid out. Hop 1 must be reachable from your phone, hop 2 from hop 1, and so on. Get the order wrong and the connection fails at the first hop that cannot see the next.
Long-press a hop and drag to reorder. The numbers renumber as you move it, so what you read is always what will happen.
Each hop keeps its own credentials
A hop is one of your saved hosts, so it signs in the way that host is configured — its own username, its own key or password, its own port. You are not entering anything twice, and a chain can mix a key on one hop with a password on the next.
- Host keys are verified per hop. The first connection through a new bastion asks you to trust that bastion’s key, separately from the target’s.
- Two-factor works on a hop too. If a bastion asks for a 6-digit code and you have stored its TOTP secret, Term answers for that hop.
- A group can hold the chain, so every host in it inherits the same route instead of repeating it.
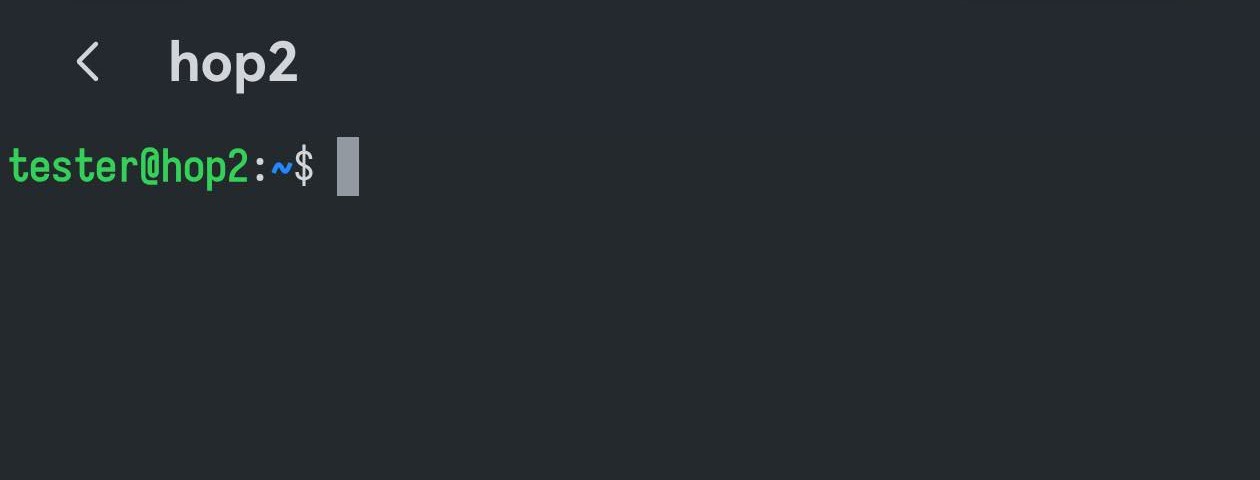
When a hop says no
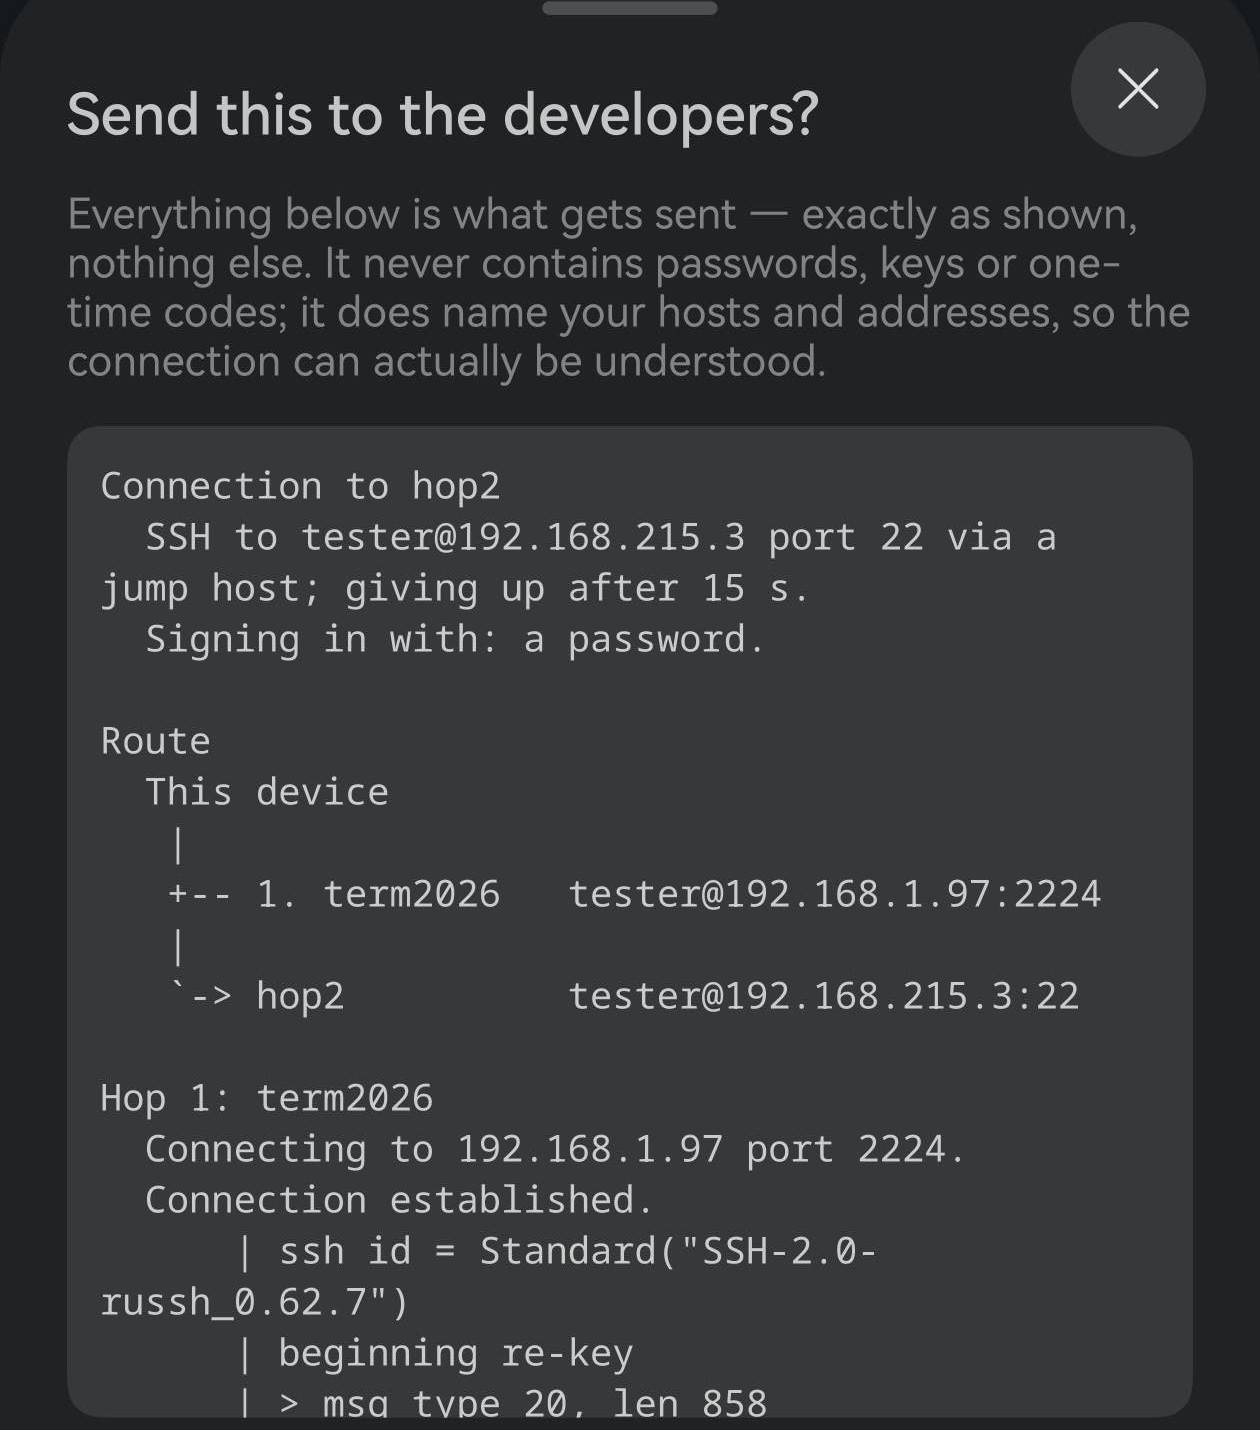
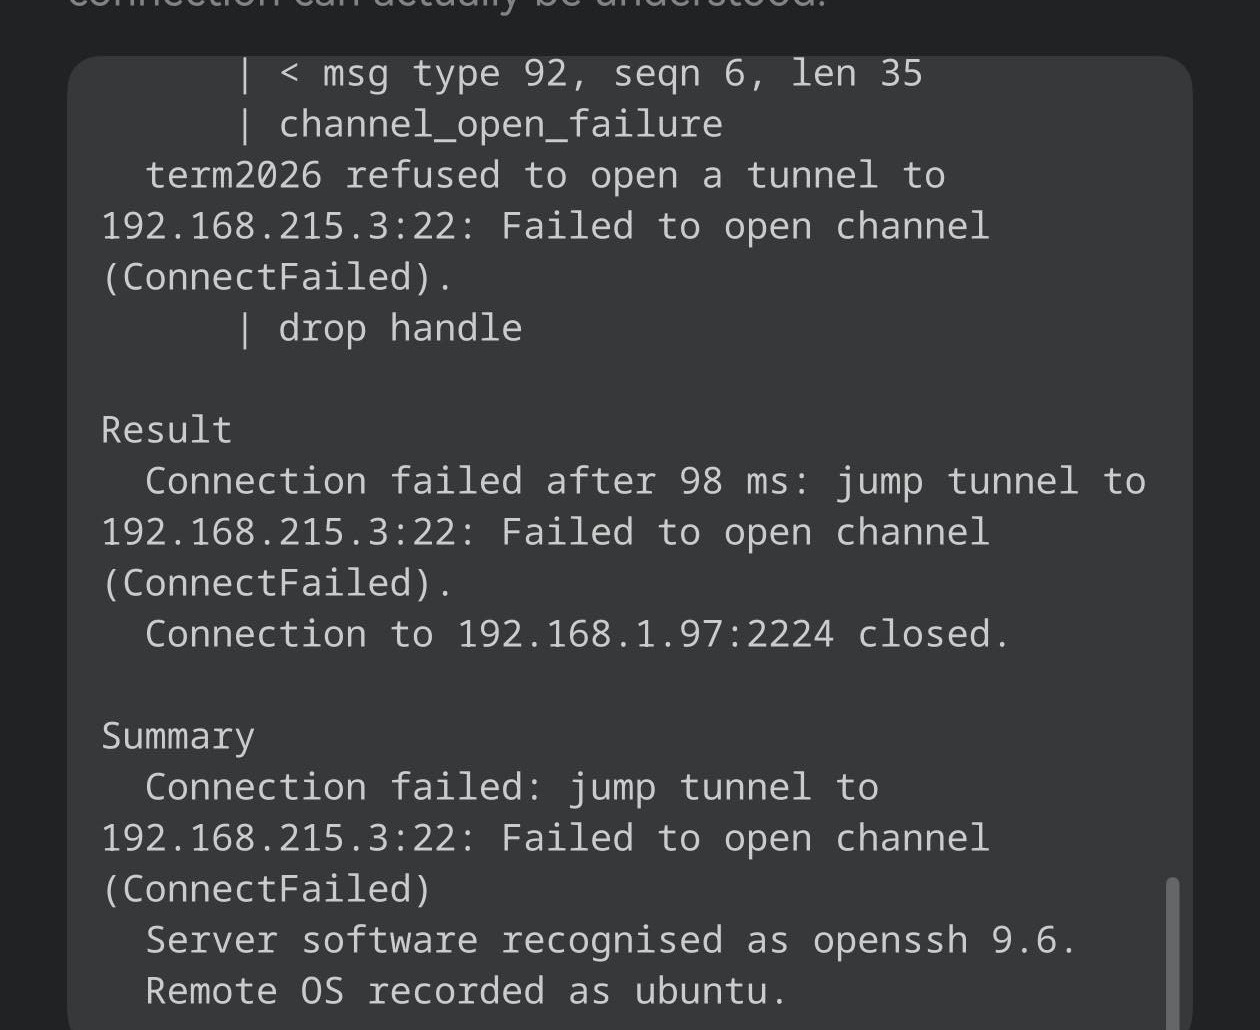
A chain has more places to fail than a direct connection, so the failure has to say where. It names the leg rather than reporting a generic timeout.
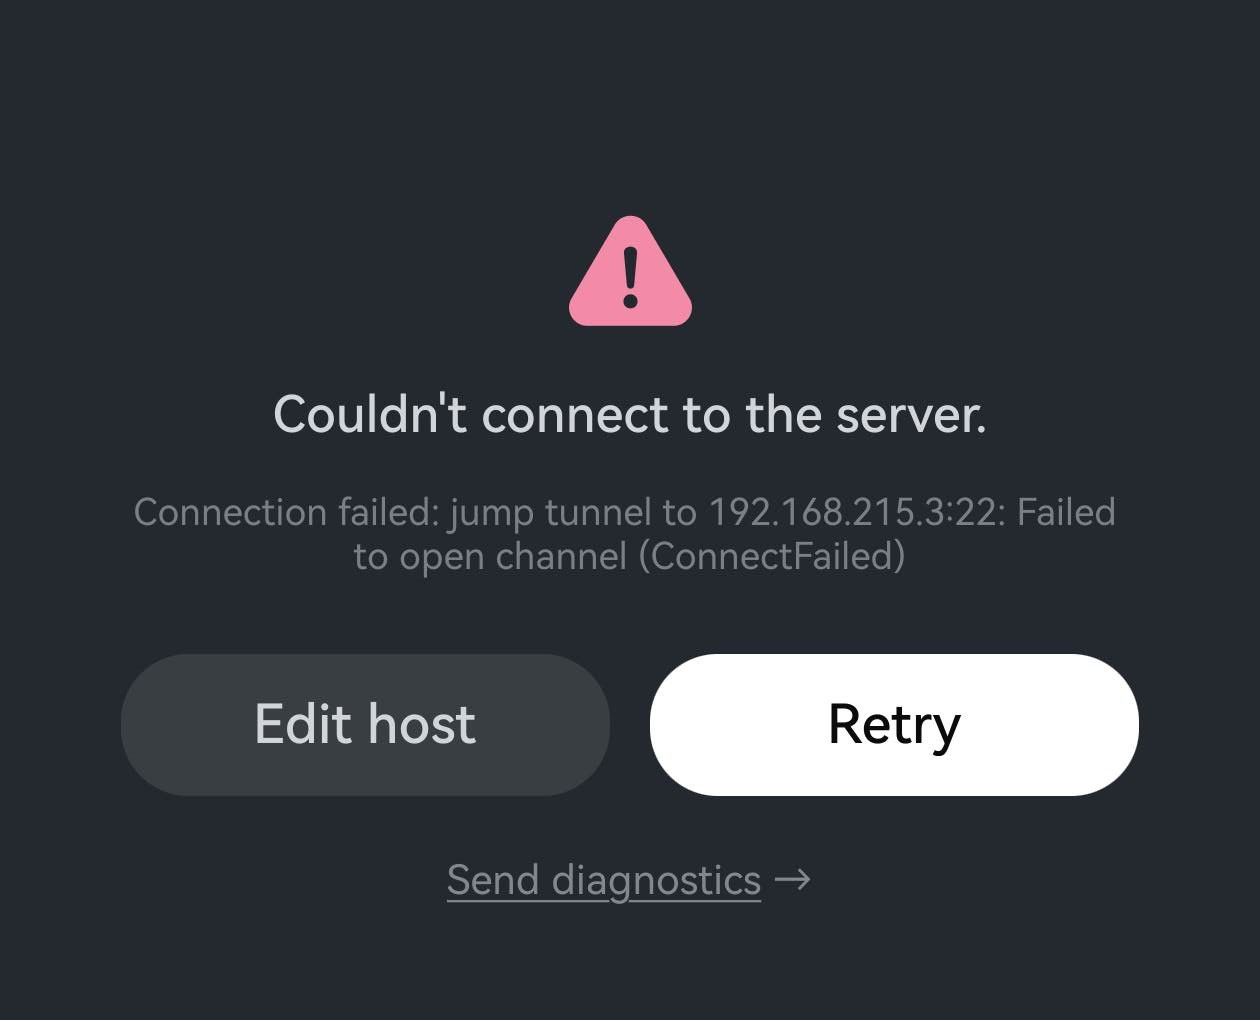
For the whole story, open Show connect log (or Send diagnostics) under the buttons. It is written to be read — one line per step, hops by name.